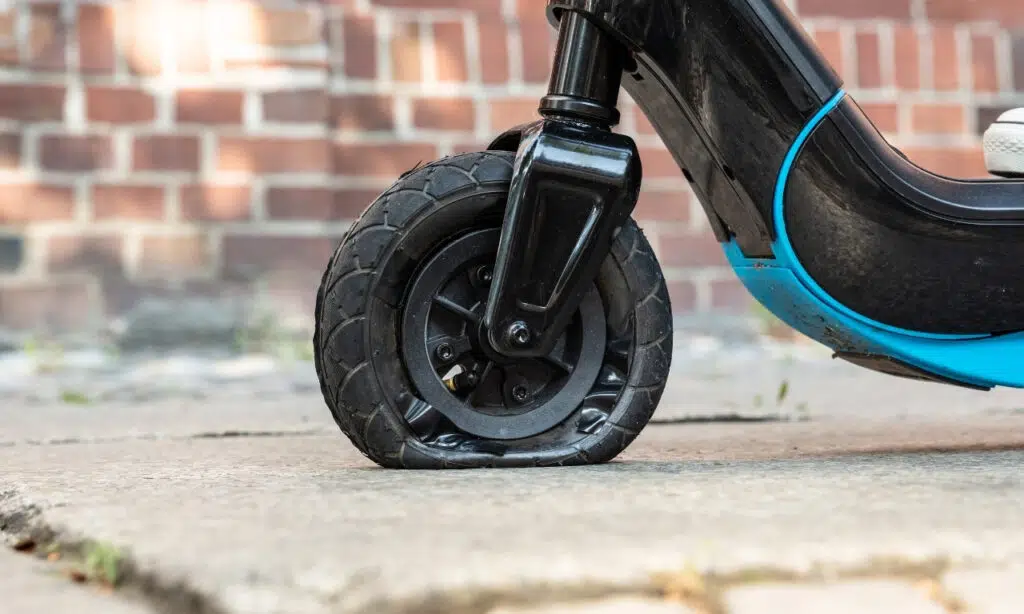
How to Change Tires on Your Electric Scooter: A Step-by-Step Guide

A puncture on an electric scooter is a common but unpleasant situation. But don’t worry—with the right tools and a clear plan, you can be back on the road in no time. Here is a comprehensive guide to help you change the tires and tubes on your electric scooter so you can continue to enjoy your ride.
Why change tires?
A punctured hose usually means you need to replace a damaged hose. It’s a relatively simple repair that can be done at home if you have the right tools and instructions. Here’s a step-by-step guide to changing the tube and tire on your electric scooter.
Step 1: Remove the broken hose
Preparation : First remove the screws holding the brake to the wheel to release it. This makes it easier to remove the wheels from the electric scooter.
Removed Parts : Remove all decals and plastic covers that hold the wheel in place.
Remove the wheel : After all the bolts are loosened, carefully remove the wheel from the electric scooter.
Disc brakes : Unscrew the brake disc, which is usually attached with four or five screws, and set it aside.
Hose replacement : Unscrew the valve head and the nut that secures the hose. Press the valve to deflate the hose. Create a gap between the tire and the rim with a tire iron and gently bend the tire upwards to remove yourself completely from the rim. Then remove the rim and tube with the tire.
Replace the hose : Replace the broken hose with a new one. Contact us for more information on spare parts.
Step 2: Reassemble the wheel
Install the new pipe: Start by inserting the valve into the rim and screwing the nut onto the valve. Push the tube into the tire and make sure the nut is tight.
Refitting the tire : Mount the tire on the rim. Feel free to use rubber pins and ask a friend for help if needed. Inflate the tire to the recommended pressure – check the tire specification for the correct bar value.
Reassemble the disc brakes : Put the disc brakes and wheel back on the electric scooter. Tighten all bolts that hold the wheel firmly.
Install the plastic covers: Install the plastic cover and any stickers you removed.
Brake adjustment : Unscrew the brake and position it so that the brake disc is as close to the right side as possible for best performance.
Tips and resources
For more detailed instructions and help, we recommend checking out our excellent YouTube channel. They offer clear how-to videos and smart tips for changing tires and other repairs.
Good luck with the tire change! With the right tools and a little patience, they’ll soon be back on the road enjoying a smooth ride.
